A nice-looking bead is not automatic strength
People love a clean-looking weld. Even ripples, smooth surface, and that classic ‘stacked’ look get attention. But in the field, cosmetics do not guarantee strength. We have seen beautiful beads peel off because they never fused into the base metal. A seam that holds is built on fusion, joint design, and correct placement.
If you want to avoid repeat repairs, you need to know what matters most in a seam, beyond the surface appearance.
What strong seams have in common
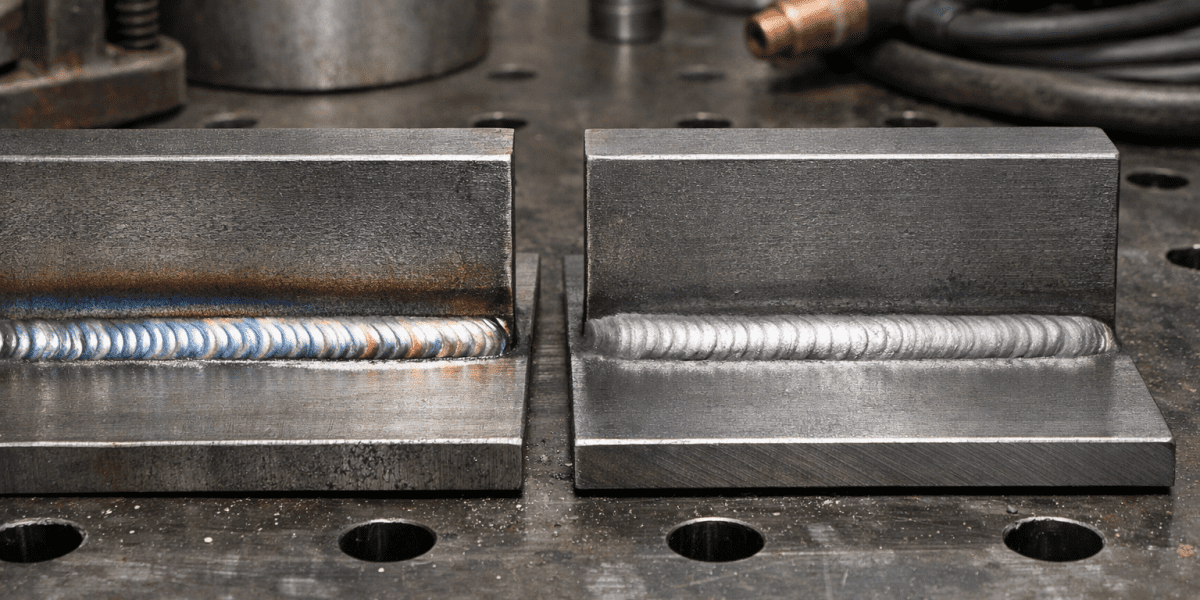
Strong seams show real tie-in
Look at the toes, the edges of the bead. A strong seam blends into the base metal with a smooth transition. If the bead looks perched on top, like it could be chipped off, that is a warning sign.
Strong seams match the load and the leverage
A tiny seam on a heavy bracket is a common failure point. Seam size, seam length, and placement must match the forces involved. A gate hinge sees leverage. A trailer tongue sees push-pull. A rack sees vibration. The seam must be sized for that reality.
Strong seams start with clean metal
Welding over paint, rust, or oil is how you get porosity and weak fusion. Even if the bead looks smooth, contamination inside the seam can make it fail early and rust from the inside out.
Strong seams use the right joint design
Sometimes the fix is not a prettier bead. It is a bevel, a groove prep, a longer seam, or reinforcement so the load is distributed properly. Joint design is the difference between a seam that survives and a seam that keeps cracking.
Cosmetic welding is what you see. Structural welding is what the metal is doing underneath.
Red flags: ‘pretty’ seams that should worry you
Bead sitting high with sharp edges
If the bead sits high and the toes do not blend, it may be cold lap or lack of fusion. That seam can hold light duty and then fail suddenly under shock load, like a pothole hit with a loaded trailer.
Perfect ripples but wrong location
A seam can be well executed and still be placed wrong. If force is pulling in one direction, seam placement matters. Welding the wrong side of a bracket or leaving a seam too short can create a failure point even with clean bead appearance.
Heavy grinding to make it look smooth
Grinding has its place, but if a seam was heavily ground down just to look clean, the effective weld size might be reduced. A seam should be built strong first and dressed only when appropriate.
Simple checks you can do on common items
Trailers
- Check tongue seams, crossmembers, and suspension mounts for rust lines and hairline cracks.
- Look for undercut at the toes. Cracks often start there.
- If you see multiple patch welds stacked over each other, the seam likely needs proper rework.
Gates and hinges
- Hinge plates should have full contact and solid seams on the correct sides.
- If a hinge seam is cracked, do not just weld on top. Remove the crack and rebuild the joint.
Racks and brackets
- Look for seams that stop short of the stress zone, especially at corners and edges.
- Check for distortion that pulls the joint out of alignment and stresses the seam.
When in doubt, strengthen the seam the right way
Sometimes the fix is not more weld metal. It is longer seam length, correct placement, better joint prep, or a gusset that reduces flex. The goal is a seam that stays stable under real use, not a bead that looks good on day one.
Need a weld seam inspected or repaired in Edmonton?
YEGWELD provides mobile welding and fabrication in Edmonton and within 100 km. If you are not sure whether a seam is cosmetic or structural, we can assess it and recommend the safest path forward.
Call 780-233-8285 or book service through our contact page. Cash and e-Transfer accepted. 24/7 emergency availability.
This article is for informational purposes only and may contain inaccuracies. Always consult a certified welding professional before starting any project.
NEED WELDING IN EDMONTON?
Text us photos for a fast estimate. We come to you.